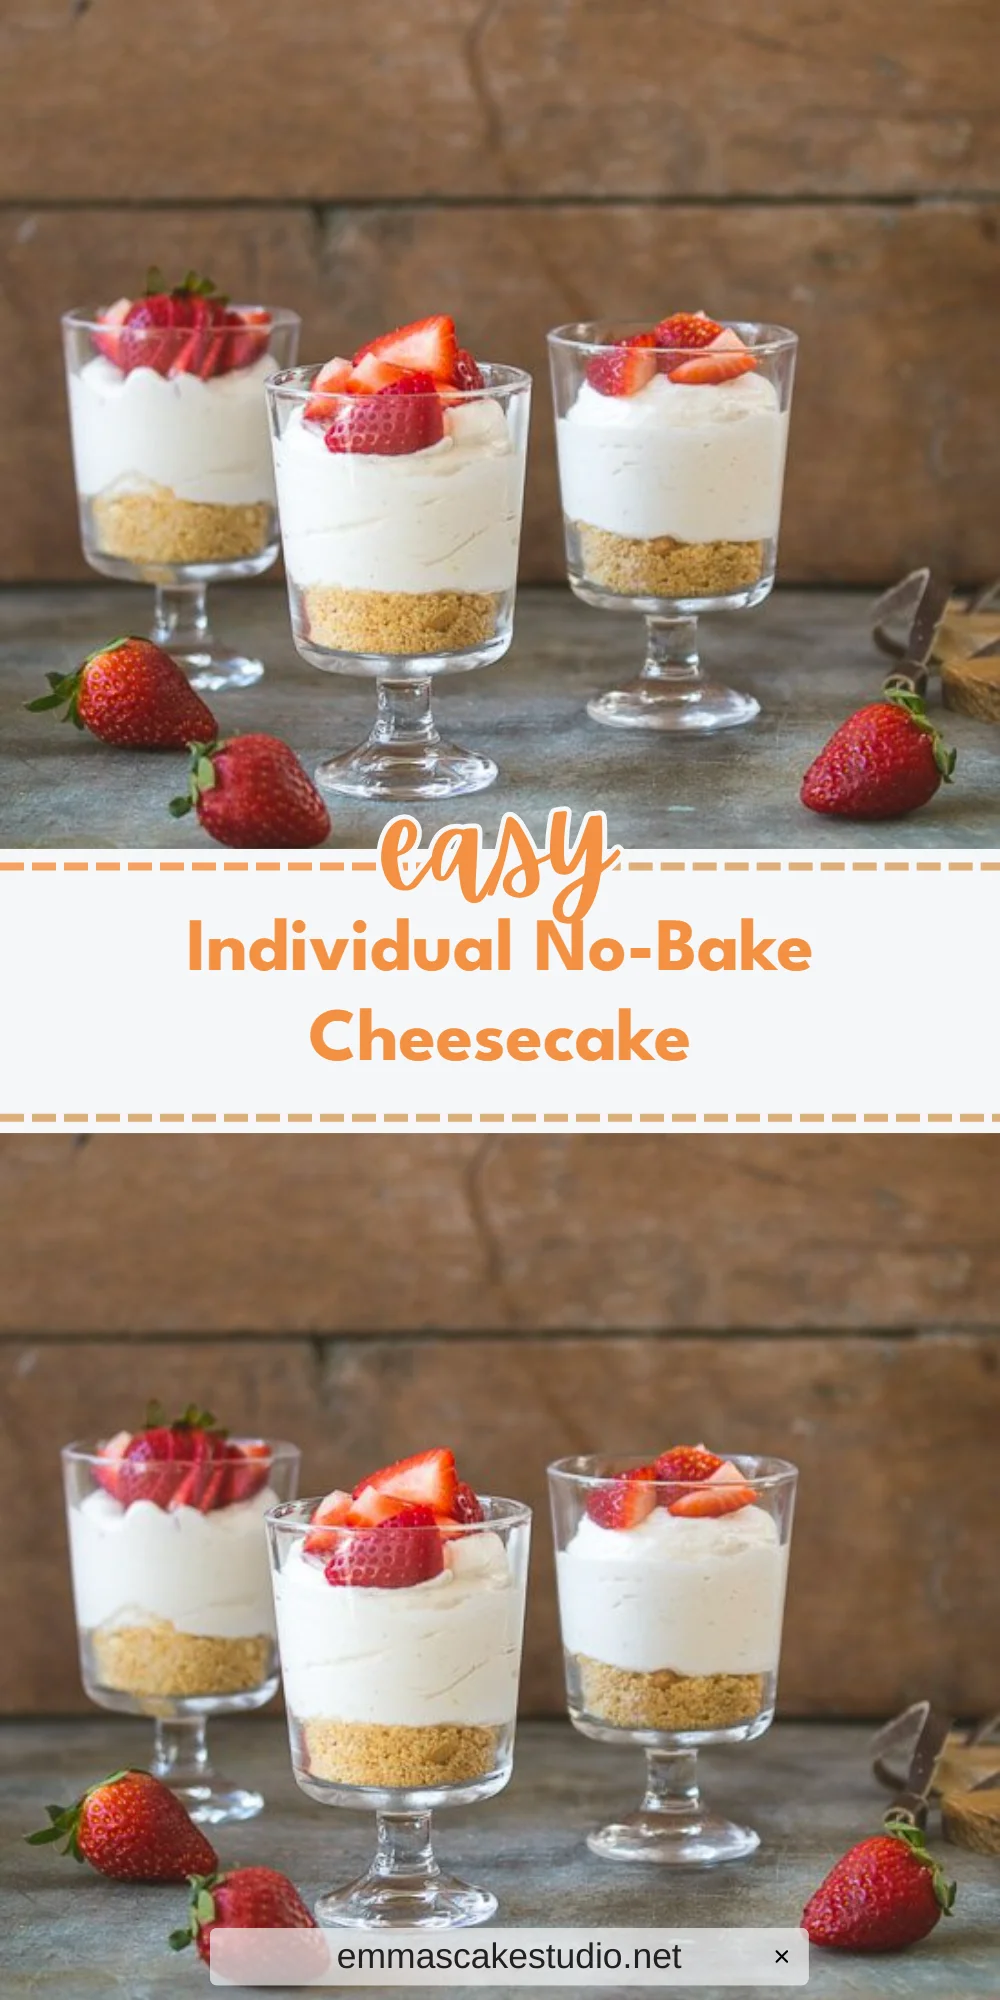
The first bite of a creamy, luscious cheesecake is like a gentle hug on your taste buds. With the Individual No-Bake Cheesecake, you can enjoy a delightful dessert that takes only about 30 minutes to prepare and doesn’t require any oven time. This recipe is a great option for anyone craving a sweet treat, making it perfect for summer gatherings or any occasion where you want to impress without the fuss.
This recipe is ideal for those who love creamy desserts but want an easy-to-make option. It’s perfect for summer picnics, holiday parties, or even a cozy night in. Plus, you can make it ahead of time and store it in the fridge for up to three days.
Why You’ll Love This Recipe
- The no-bake method keeps your kitchen cool and the dessert light.
- Individual servings make for an elegant presentation with minimal effort.
- The creamy filling combined with a buttery crust creates a satisfying texture contrast.
- Customizable toppings allow for endless variations based on personal preference.
What You’ll Need
Here’s everything you need to create this delicious dessert.
For the Crust
- 3/4 cup (85g) graham cracker/digestive biscuit/vanilla cookie crumbs, finely ground
- 2 tablespoons (25g) unsalted butter, melted
For the Filling
- 8 oz (225g) cream cheese, at room temperature
- 1/2 cup (100g) granulated sugar
- 1 teaspoon pure vanilla extract
- 1-2 teaspoons lemon zest, optional
For Topping
- 1 cup (240 ml) heavy cream
- Diced fresh fruit, for topping
Use gluten-free cookies for a gluten-free version.
Substitutions & Swaps
- Cream cheese: Mascarpone cheese for flavor twist
- Heavy cream: Coconut cream for dairy-free
- Granulated sugar: Honey or maple syrup for natural sweetening
How to Make It
Prepare for a delightful treat with these simple steps.
Make the crust
In a medium bowl, mix together crumbs and melted butter until combined and crumbs are moistened. Divide evenly between individual serving dishes (about 2 tablespoons per serving dish). Press on the mixture with your fingers to form a crust layer.
Make the filling
In a large bowl, combine cream cheese and sugar, and whisk well until combined and completely smooth. You can also use an electric stand mixer fitted with the paddle attachment to beat the cream cheese, or use a handheld mixer. Add in vanilla and lemon zest. Set aside to let sugar dissolve into the cream cheese.
Whip the cream
Using an electric mixer fitted with the whisk attachment, whisk heavy cream until soft peaks form. Avoid overbeating. Using a rubber spatula, gently fold half of the whipped cream into the cream cheese mixture, then fold in the other half.
Assemble
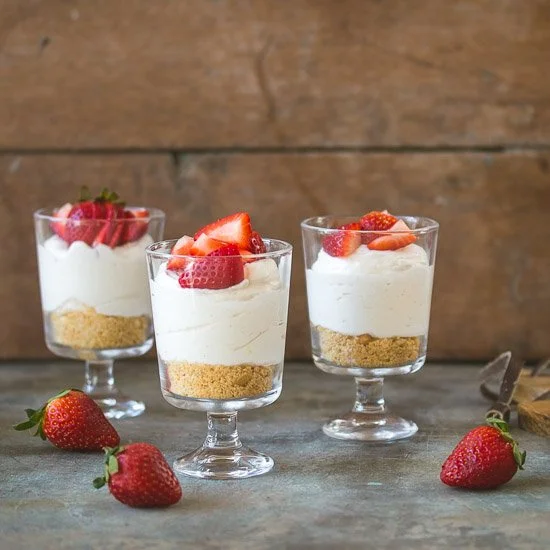
Evenly spoon (or pipe using a piping bag) about ½ cup of filling into each serving dish. Top with fresh fruit or any other topping you like. Cover and place in the fridge for at least one hour before serving, or up to 2-3 days.
How to Store It
Fridge: Store in sealed containers for up to 3 days.
Freezer: No, as this dessert can become watery.
Reheat: Serve chilled; no reheating necessary.
Tips for Best Results
- Allow cream cheese to reach room temperature for easier mixing.
- Be cautious not to overwhip the cream to keep it light and airy.
- For added flavor, try incorporating fruit purees into the filling.
Serving Suggestions
- Serve with a side of chocolate sauce for a decadent twist.
- Pair with coffee for a delightful dessert experience.
- Enjoy at summer barbecues or holiday celebrations for a festive touch.